BookingSync (Smily)
How to authenticate the integration
We'll use a test app, Acme AI, to show how an end-user can authenticate the integration between BookingSync and Acme AI.
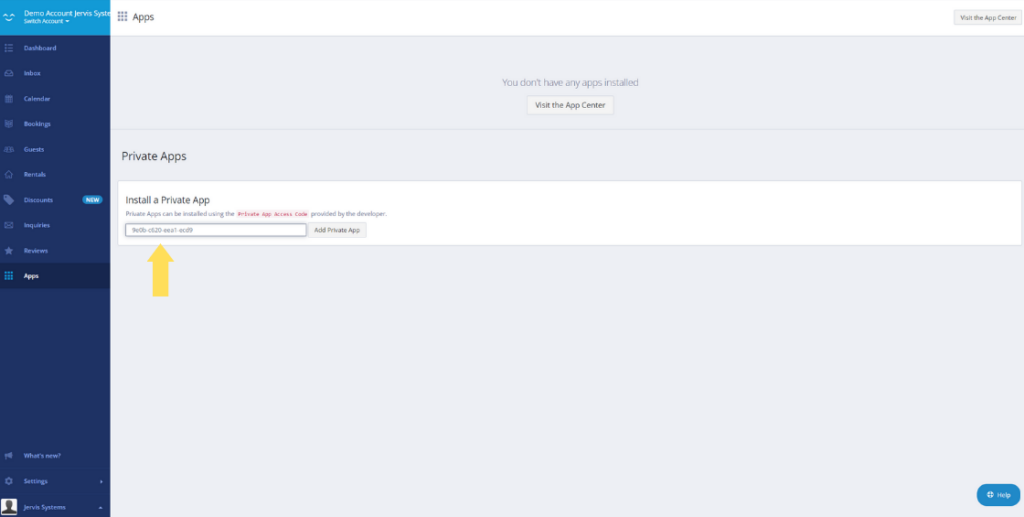
Open your BookingSync Account and navigate to 'Apps > Private Apps'.
Get the Private App Access Code from Acme AI’s team and paste it as below. Click on 'Add Private App'.
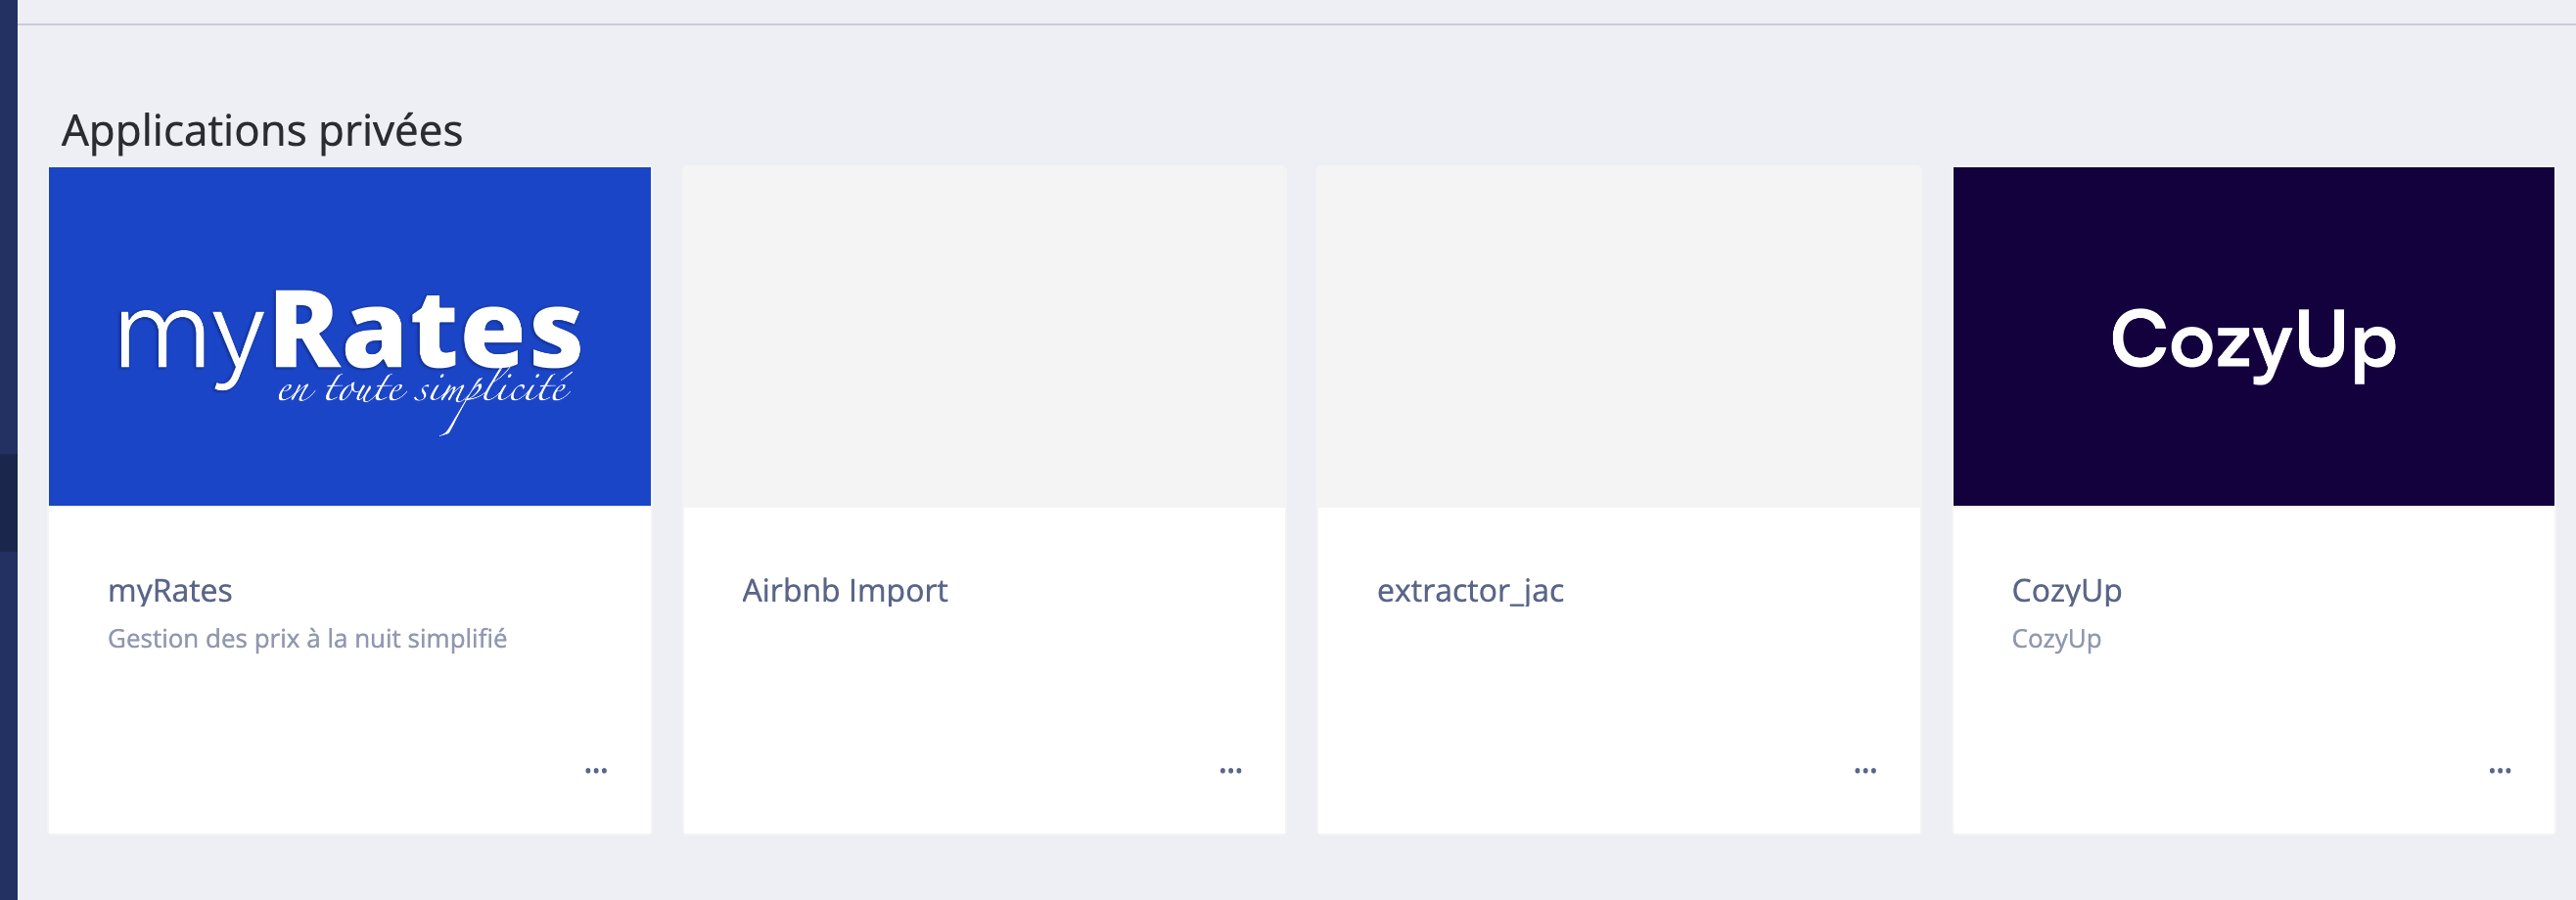
Acme AI will now be visible in your 'Private Apps' section like below.
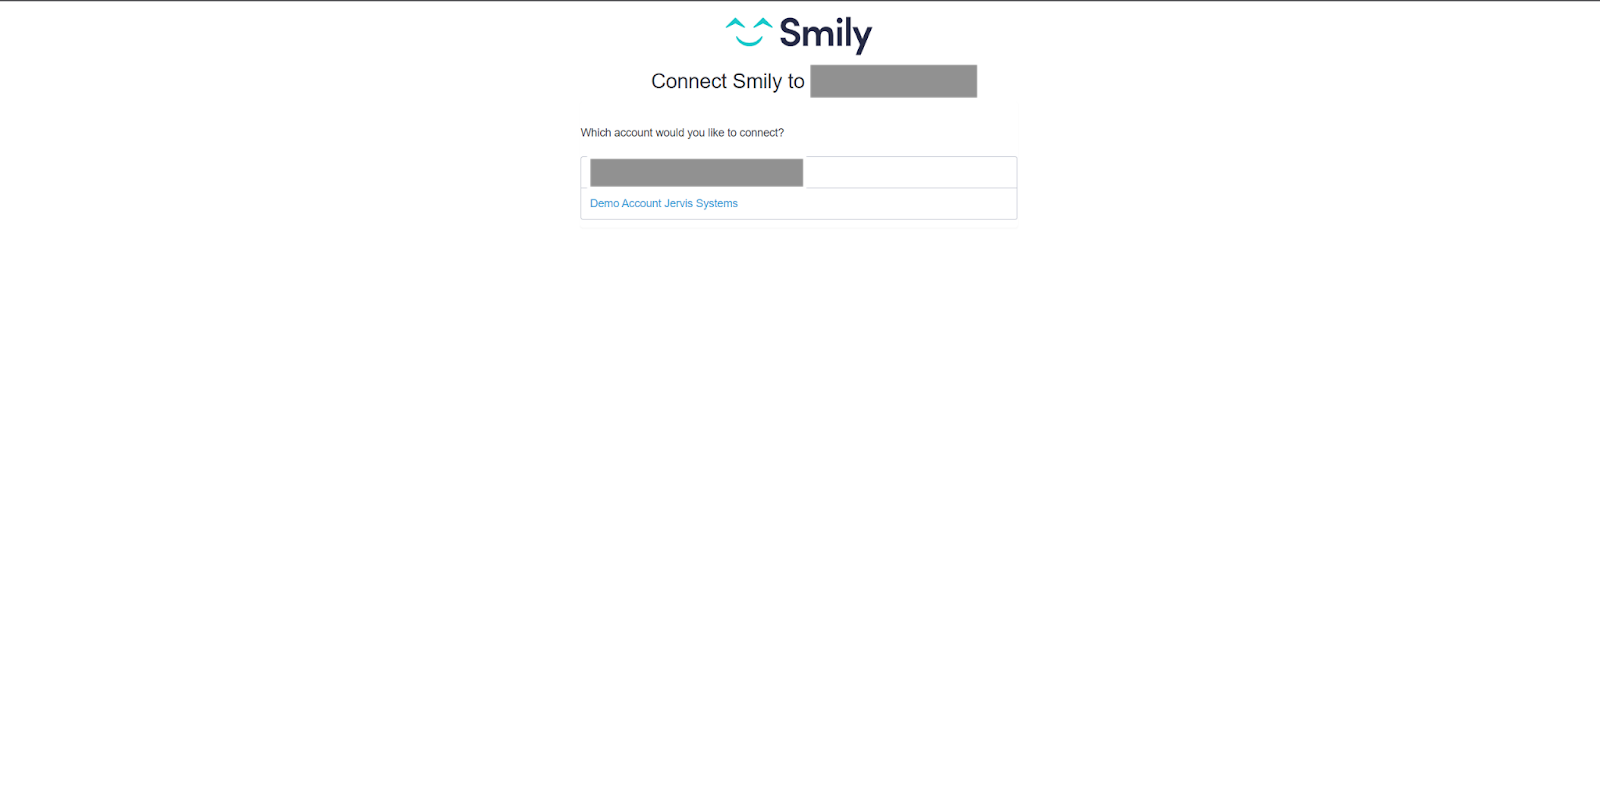
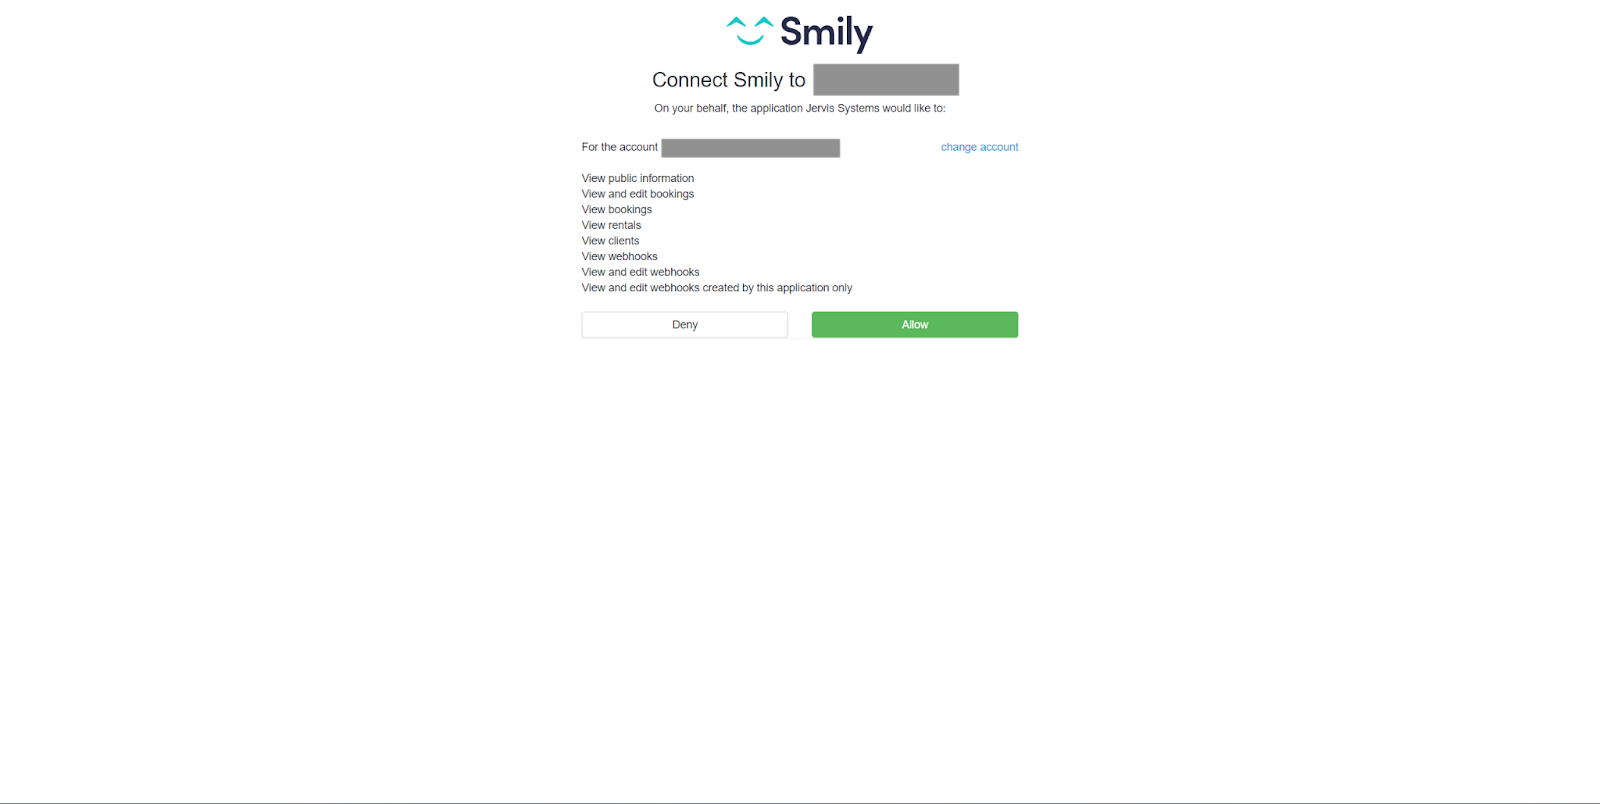
Now, switch over to Acme AI's integration page and click on BookingSync's logo. You will now be redirected to an Authentication screen (as below) where you will have to allow Acme AI to access information from BookingSync.
How to setup OAuth app and Real-time webhooks
Creating OAuth app in BookingSync:
- Navigate to the BookingSync Developer Partner Page and sign up to create an OAuth app.
- After logging in, select '+ New Application'. Provide the application's Name and Admin URL.
- Set the Redirect URL to
https://dev.calry.app/api/v1/oauth/callback - Set
EmbeddedtoTrue, andPublishedtoFalse. - Go to the Features tab, enable all synchronization options.
- Under the Marketing tab, input your Summary, Description, and upload your Logo. These details will be visible for the end-user during the authentication flow.
- Click 'Create Application'.
- Go to that application by selecting Manage.
- Navigate to the Webhooks tab within your application settings and click on 'New Webhook'. Enter the URL:
https://dev.calry.app/api/v1/listener/workspace/bookingsync/{calryWorkspaceID}. - Select the appropriate webhook events for your app and Confirm by clicking on 'Create webhook':
booking_createdbooking_updatedbooking_destroyedinbox_conversation_createdinbox_conversation_updated
- Save the
ClientID,ClientSecret, andPrivate App Access Code. These credentials will be required in subsequent steps.
Creating OAuth app in Calry:
Visit
https://dev.calry.app/workspaces/{calryWorkspaceID}/o_authto create your OAuth app in Calry.Click on "+ New OAuth App" and select 'BookingSync' as the integration type.
Enter a name for the integration and provide the
ClientIDandClientSecretfrom Step 11 above.Enter the scope as follows:
applications_read bookings_write_owned bookings_read bookings_write clients_read clients_write inbox_read inbox_write inquiries_write_owned inquiries_read inquiries_write payments_write_owned payments_read payments_write preferences_general_settings_read preferences_general_settings_write preferences_payments_read preferences_payments_write rates_read rates_write rentals_read rentals_write reviews_read reviews_write webhooks_read webhooks_write webhooks_write_ownedPlease make sure you don't change the syntax of the scope above. Copy and Paste it as it is.
Finally click 'Create'.
Note: Change the base urls to prod.calry.app if you're connecting it to Calry production environment.
If you need help in creating OAuth app for BookingSync, don't hesitate to reach out at mail@calry.app